

|
|
MENU HERE
- 123456Automotive Replacement Light Bulbs

- Tail Brake Turn Back-Up Reverse Light 1156 1157 1142 2357 7507 7225 Bayonet Bulbs
-
Tail Brake Turn Back-Up DRL Reverse Light 3157 3156 3457 4157 3057 Wedge Bulbs
- LED Bulbs 3157 3156 3457 4157 3057 Tail Brake Turn Back-Up DRL Reverse Light
- Xenon HID Bulbs 3157 3156 3457 4157 3057 Tail Brake Turn Back-Up DRL Reverse Light
- Chrome Xenon Bulbs 3157 3156 3457 4157 3057 Tail Brake Turn Back-Up DRL Reverse Light
- Switchback Two Color LED Bulbs 3157 3156 3457 4157 3057 Tail Brake Turn Back-Up DRL Reverse Light
- Canbus Led Bulbs 3157 3156 3457 4157 3057 Tail Brake Turn Back-Up DRL Reverse Light
- See All Bulbs 3157 3156 3457 4157 3057 Tail Brake Turn Back-Up DRL Reverse Light
- Tail Brake Turn Back-Up Reverse Light 7444 7443 7440 Wedge Bulbs
- License Plate Side Marker Coutesy Map Interior 194 168 161 2825 W5W Miniature Wedge Bulbs
-
Instrument Panel Gauge Glove Box T3 T4 T5 Neo-Wedge 24 37 74 2721 Bulbs
- Dome Trunk License Plate Map Courtesy Vanity 3022 212 578 6418 6411 Festoon Bulbs
- Ba9s E10 Screw Ba7s Bax9s B6 G18 B19 Small-Head Ba15s Bay15d Bayonet Bulbs
- Upper 3rd Brake Map Trunk 579 906 921 T15 Medium Wedge Bulbs
- Headlights DRL Foglights & HID Systems
- 6 Volt - Antique - Vintage - 24 Volt Bulbs
- Boat & Marine 1142 1076 1176 Bayonet Bulbs
- Dura Chrome Titanium Platinum Silver Vision Stealth Bulbs
- Xenon Plasma Super Hyper White Bulbs
- G4 891 T10 2 Pin Bi- Pin Bulbs
- Canbus Error Free BMW Mercedes Audi VW Volvo Dodge 5002S PY24W Bulbs
- Weekly Sale
- ABCDOther Auto & Motorcycle Lighting
- LED Light Fixtures & Strobes
- Light Bright NEON Glow Wire
- LED Neo-Neon Flexible NEON Light Tubing
- HID Headlight and Foglight Systems
- Daytime Running Light (DRL) Kits & Foglight Systems
- LED Screw Mount & Motorcycle Indicator-Accent-Running Lights
- LED Light Tubes, Neon Light Tubes & Underbody Lights
- LED Windshield Washer & Mirror Turn Signal Indicators
- Overhead Cab Lighting
- Angel Eye Halo Rings for Headlights, Tail Lights and Lenses
- XYZLow Voltage Utility Lights & Fixtures
- XYZTruck, 4X4, RV & Trailer Lighting
- Household Commercial & Industrial Lighting
- Other Products
- Windshield Wipers, Tools & Automotive Accessories
- LED Flashers, LED Protectors, Load Equalizers Turn Signal Fix
- Electrical Contacts, Sockets, Connectors & Fuses
- Led Controllers, Flashing Modules, Braker Modules & Dimmers
-
Miniature Train Bulbs & Parts
- Programmable Remote Controllers & Switches for Garage Openers
- Discrete Raw Leds, Resistors & Components
- Power Inverters - Power Supplies - Power Adapters
- Switchback Bulbs Two-Color Turn Signal-Running Light Bulbs
- LED Flashlights Work lights & Bulbs
- LED Bike, Go Ped, Motorcycle, ATV, Boat and RV Light Fixtures
- Electrical Wire & Heat Shrink Tubing
- Motorcycle & RV Running Lights, Turn Signals and Indicator Lights
- Air Horns
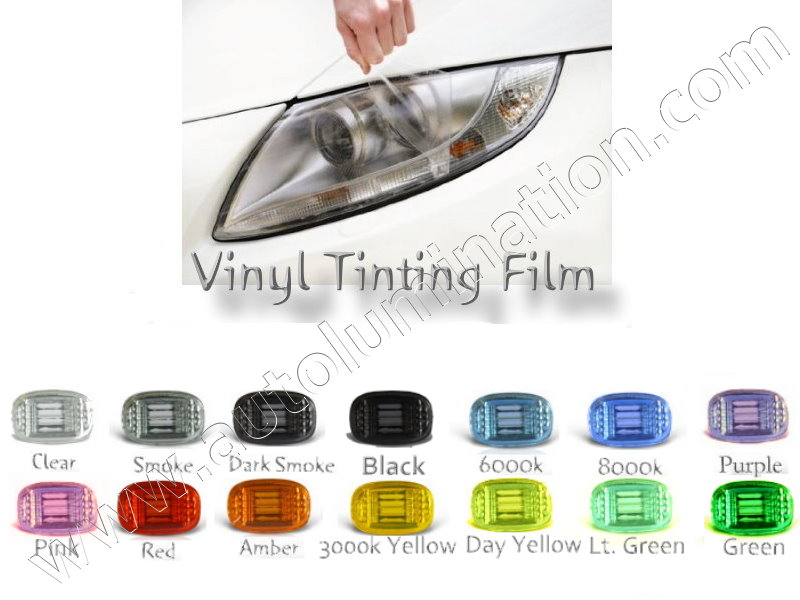
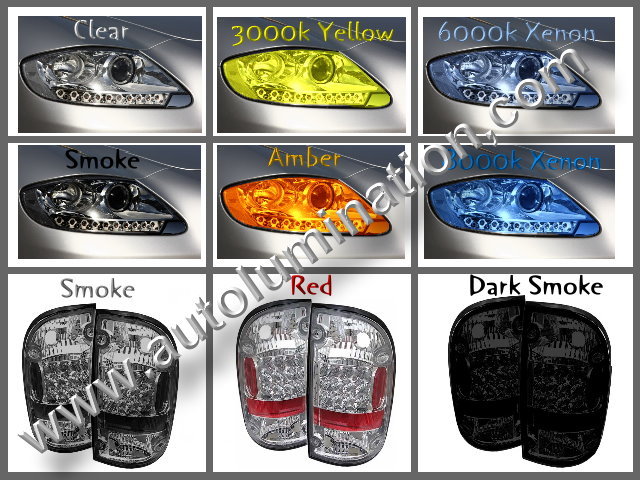
- Vinyl Protective Film for Tinting Windows, Headlights, Tail Lights & Lenses
- Black Box Dash Mount Digital Video Recorders
- Reference
Vinyl Protective Self-Adhesive Film Instructions for Tinting Headlights, Tail Lights and Lenses
 |
Useful Tools:
|
||
 |
 |
 |
|
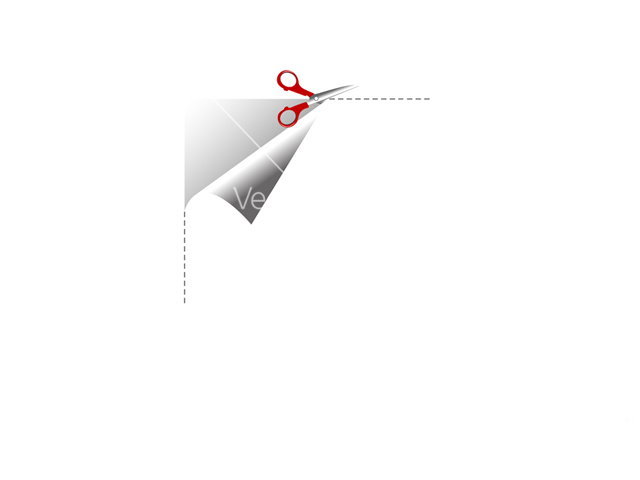
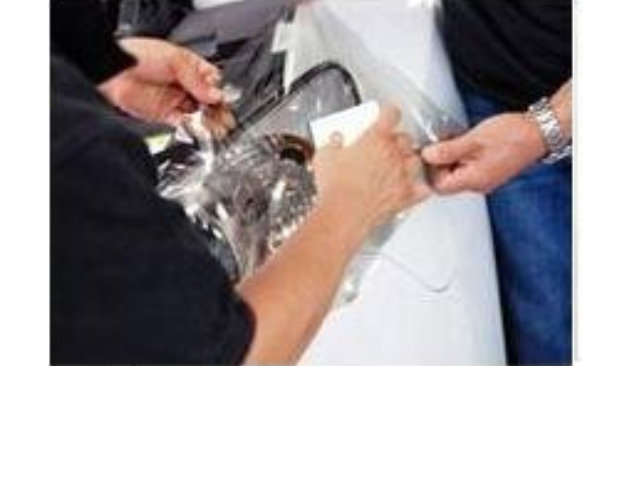
| Step 1 | Step 2 | Step 3 | |
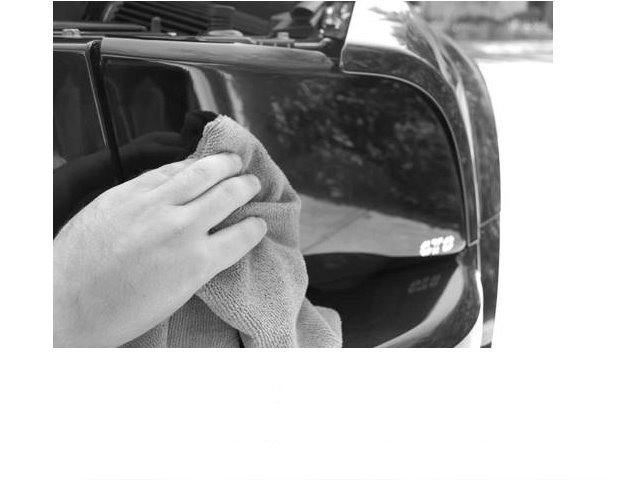
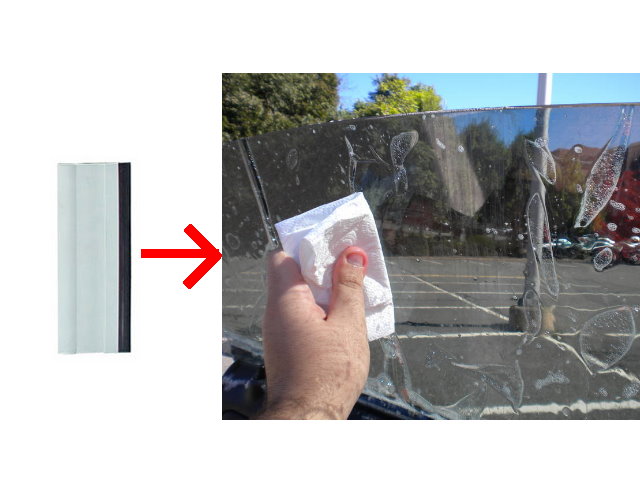
| Measure lens carefully and cut vinyl to rough size using scissors. Remember measure twice cut once. Be sure that the vinyl is larger than the lens so it will overlap. | Clean lens surface thoroughly with glass cleaner or warn soapy water. | Using any flat hard plastic card, wrap with a clean lint free paper towel to use as a squeegee. | |
 |
 |
 |
|
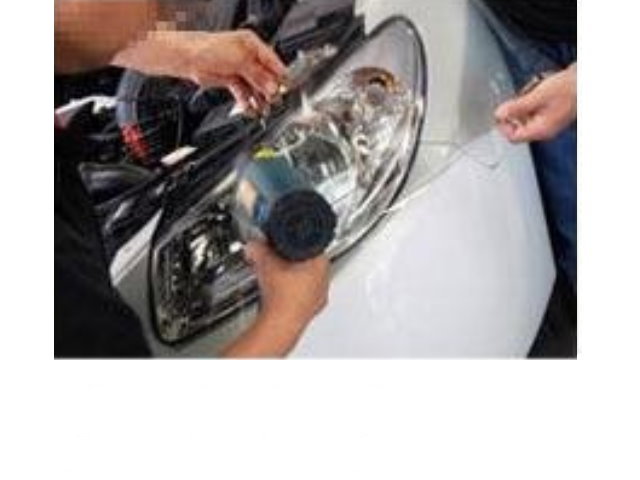
| Step 4 | Step 5 | Step 6 | |
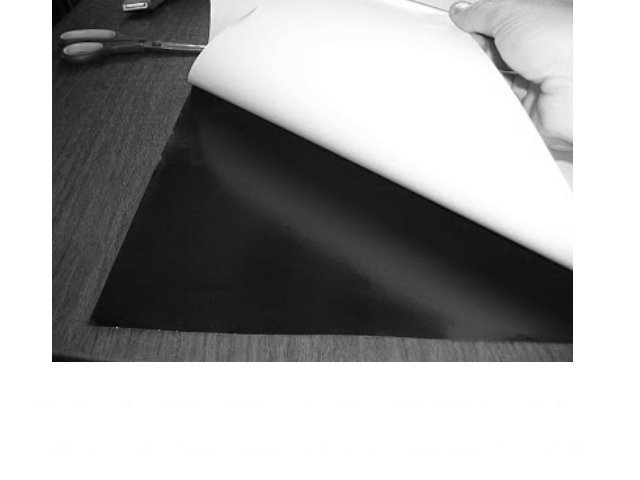
| Remove protective backing from vinyl. Remember that the side with the backing has the adhesive layer and must be applied to contact the lens. | Apply warm soapy water or window cleaner generously to the lens and adhesive side of the vinyl. | Apply the vinyl to the lens. | |
 |
 |
 |
|
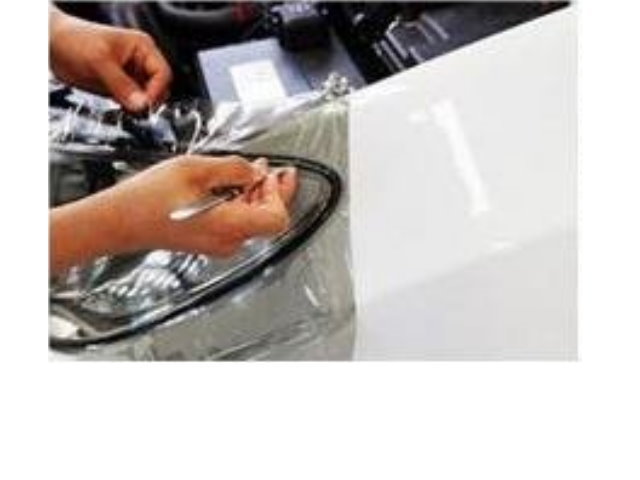
| Step 7 | Step 8 | Step 9 | |
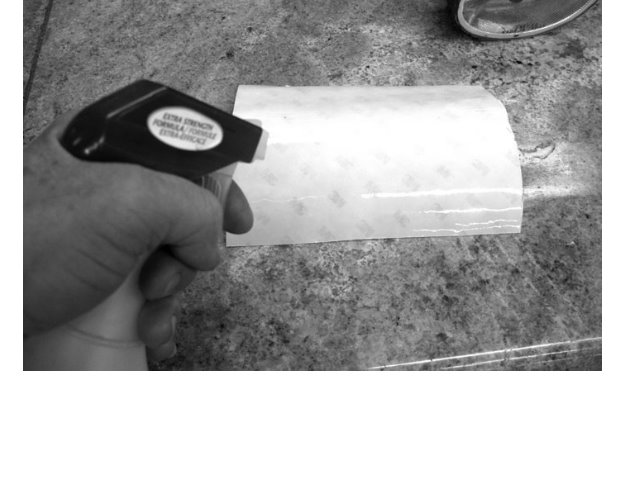
| Using the hard card, work from the center of the lens and work all of the air bubbles out to the edge. Smooth the vinyl over the entire lens surface. | Apply light heat using a heat gun to help form to curved surfaces. Do not overheat! | Trim edges with an exacta knife and remove excess viny. | |
|
|
|||
| Step 10 | |||
| Use hard card and clean dry paper towel to remove excess water. If any small bubbles cannot be removed, sunlight will often remove them within 24 hours. Edges will also adhere firmly after 24 hours. | |||
 |
|||
| To remove, loosen edge with exacta knife and pull. Note: vinyl cannot be reused after it is applied and removed. | |||
|
|
 |
 |
| Precut 12" x 24" (30cm x 60cm) | Precut 12" x 48" (30cm x 120cm) | Full Roll 12" x 400" (30cm x 1000cm) |
| $14.99 | $24.99 | $119.99 |
|
Features and Uses:
|
||

UPIC Shipping Insurance
Note: Our packages are not automatically insured against loss during shipping. Insurance is the responsibility of the purchaser!
$2.00 for each $100 unit of insurance
Shipping Insurance
$2.00 per $100
|
Powered by Ewebmerchant.com |